Avoid These Common Leather Repair Mistakes at Home
Fixing leather at home can feel rewarding and save you money, but sometimes DIY efforts can make things worse. Let's dive into the mistakes people make when trying to fix leather, why they cause more harm, and how you can avoid them. Whether you're working on a favorite jacket, a prized sofa, or even your car seats, you'll pick up practical tips, know when to call in the pros, and learn how to get it right the first time.
Why DIY Leather Repair Is Popular — But Risky
Why People Try DIY Leather Repair
The leather repair market is booming because folks are more into fixing things than tossing them. This trend is partly because people want to keep their favorite items for longer and partly because it's more sustainable. Lots of people are now trying to repair their leather goods at home, but not everyone has the know-how.
Why Mistakes Happen Easily
One small mistake can lead to a bigger problem, like using a cleaner that strips oils, leading to cracks and improper fixes. These mistakes can turn a tiny scuff into a big tear or ruin the leather's color and texture. Understanding these common errors is the first step to avoiding them.
Understanding Leather Types and Their Importance
The Different Types of Leather
Not all leather is the same. Full-grain leather ages well and looks natural, while top-grain is treated for a smooth look. Corrected-grain hides imperfections, and bonded leather is basically scraps with a coating. Each type handles cleaners and dyes differently, so using the wrong product can do permanent damage.
Why Tanning and Finishing Matter
The way leather is tanned and finished affects its color and flexibility. Aniline leather absorbs dyes easily, while pigmented finishes resist stains but can crack if they dry out. It's crucial to match your products to your leather's needs; what works for one might ruin another.
Testing Your Leather
Before you do any repairs, figure out what type of leather you're dealing with. Check the texture and flexibility, and always test any product in a hidden spot first. Give it a day or two to see how it reacts. This step can save you from a lot of common DIY failures.
Common DIY Mistakes That Make Things Worse
Avoiding Harsh Cleaners
Reaching for household cleaners to fix stains is a common mistake. Harsh chemicals can strip oils and finishes, leaving your leather dry and cracked. Instead, use cleaners made for leather that keep oils intact. Experts warn against aggressive cleaning methods that can damage both looks and structure. For more on preserving artifacts, the Getty Conservation Institute offers great conservation tips.
Choosing the Right Adhesive
Household glues might seem handy, but they can stiffen and crack as the leather flexes. Leather needs flexible adhesives that move with it. Using the wrong glue can turn a small repair into a bigger problem over time.
Prepping the Surface Properly
Skipping surface prep is a big no-no. Applying filler or dye on a dirty surface can lead to flaking or uneven color. You need to clean thoroughly, sand lightly if needed, and clear away loose fibers. Many DIY kits skip this step, which is why they often fail.
Mindful of Filling and Overfilling
Using the wrong filler or applying too much can make repairs look worse. Leather fillers should be applied in thin layers and sanded smoothly. Impatience or using non-leather fillers usually ends up looking worse than the original damage.
Getting the Color Right
Color matching is tricky. Using regular paints without proper testing can lead to patchy repairs. Even with professional dyes, getting an exact match can be tough due to the leather's aging and finish. Always use compatible sealants to avoid cracking.
Tools and Products You Should Use
Essential Tools for Safe Repairs
Good repairs need the right tools: microfiber cloths, soft brushes, leather cleaners, pH-balanced conditioners, flexible adhesives, low-grit sandpaper, leather fillers, colorants, and topcoats for flexible surfaces. Using household stand-ins increases the risk of damage, so invest in leather-specific supplies.
Picking the Right Adhesives and Fillers
Look for adhesives that are water-based or polyurethane and say they're good for leather. Avoid super glue and PVA, which are too stiff. Choose fillers that mimic leather's texture and flexibility, and apply them in thin layers.
The Right Cleaners and Conditioners
Choose pH-balanced cleaners and conditioners for leather. Conditioners with natural oils or synthetic blends help maintain flexibility and reduce brittleness. Conditioning every few months helps keep your leather in good shape and reduces the need for major repairs.
Where to Learn More
To dive deeper into leather care, check out comprehensive references like the Wikipedia page on leather, which covers tanning and types. Understanding the materials can help you avoid errors.
How to Repair Minor Leather Damage Step-by-Step
1. Assessing the Damage
Start by figuring out the type of leather, the damage extent, and whether it's a structural issue or just surface-level. Small scuffs are often DIY-friendly, but big tears or fading might need a pro. If you're unsure, it's safer to consult an expert.
2. Cleaning and Preparing
Gently clean the area with a leather-specific cleaner using a soft cloth, working from the edges inward. Let it dry in a shaded area. If needed, lightly sand with fine materials to smooth edges without removing the finish.
3. Fixing Small Cracks
For cracks, apply a thin flexible filler in several coats, letting each dry before sanding smooth. Once cured, use a colorant matched to the leather in light, even passes.
4. Repairing Tears
Big repairs need backing patches or stitching based on the stress the seam experiences. For visible areas, a hidden patch and flexible adhesive work well. But for something like a seat or cushion, a professional might be best to preserve strength and looks.
5. Matching Colors and Finishing
Color matching is tough. Mix dyes gradually and apply multiple thin coats. Test on scrap material first. After coloring, finish with a leather topcoat for protection. Patience pays off here.
Color Matching: Why It’s Hard and How to Improve
Why It's Challenging
Aging and wear create a patina that's hard to replicate. The leather's finish affects dye absorption and light reflection. Even if the dye is the right color, inconsistent fading can make a patch stand out.
Tips for Better Matches
Layer dyes and toners to build depth instead of relying on opaque pigments. Feather colors outward for a natural look. Patience and gradual work yield the best results.
When to Call a Pro
If the item is valuable or a focal point, consider professional color-matching. Pros have custom pigment libraries and experience for close matches. For specialized work, professional restoration is key. Explore options like leather jacket restoration or sofa repair.
Eco-Friendly Repair Practices
Trends Toward Greener Materials
More repair shops now use eco-friendly adhesives, natural dyes, and low-VOC products. About 40% of centers have gone greener to meet demand and comply with safety regulations.
Choosing Safer Options
Look for low-VOC or eco-friendly labels and check for certifications. Safer choices protect indoor air quality and reduce harm. For more on safer chemicals, check the EPA Safer Choice program.
Preventative Care
Regular cleaning and conditioning extend leather life and reduce repair frequency. Educating yourself on preventative care is one of the best sustainability strategies.
Real-World Examples
Automotive Interiors
Car seats often face sun damage and wear. Improper cleaning can ruin finishes and cause cracks. A common fix is pairing a professional assessment with targeted repairs like patching tears and restoring color. For major issues, professional auto leather repair is worth it; consider something like auto leather repair.
Commercial Furniture
In places like hospitals, frequent cleaning with harsh chemicals can strip finishes. Professionals can restore looks without compromising hygiene, often suggesting gentler disinfectants. Regular maintenance extends furniture life and saves money.
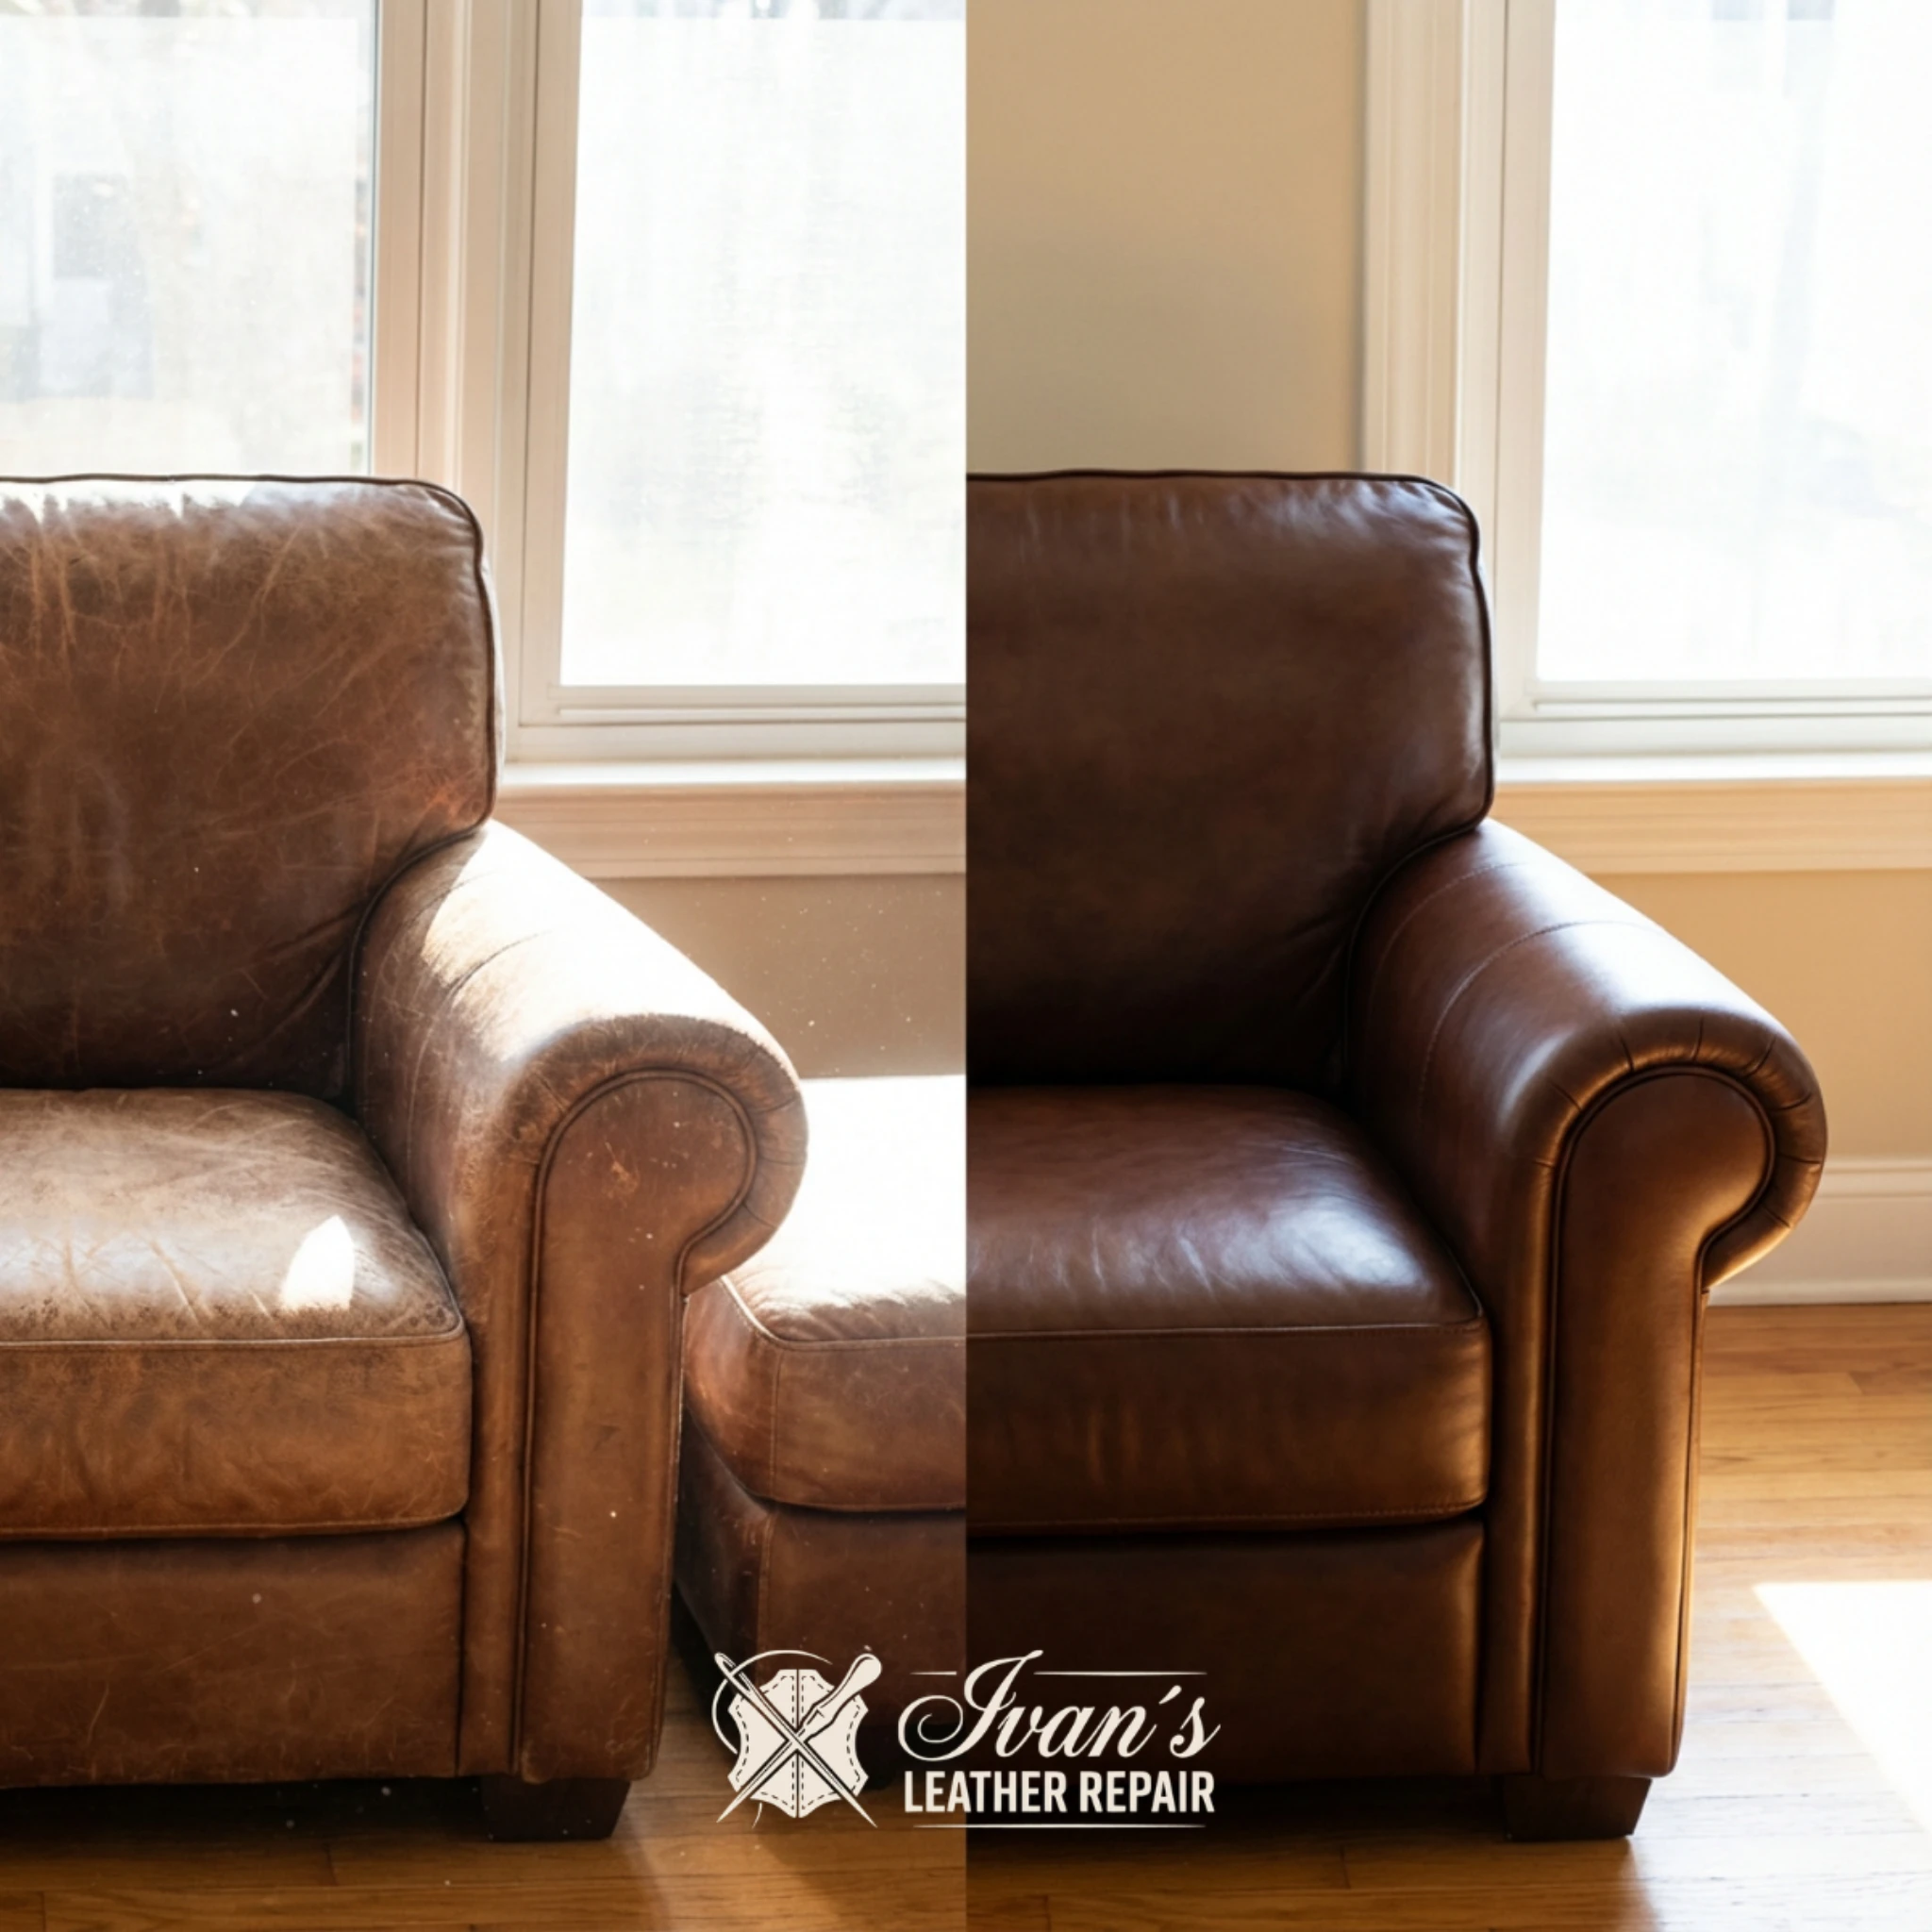
Household Sofas and Jackets
Sofas get heavy use and show wear fast. Amateur repairs often skip reinforcement, leading to more problems. For jackets and well-used leather, targeted repairs deliver lasting results. Professional services like leather jacket repair or sofa repair can be wise investments.
Troubleshooting Common Repair Failures
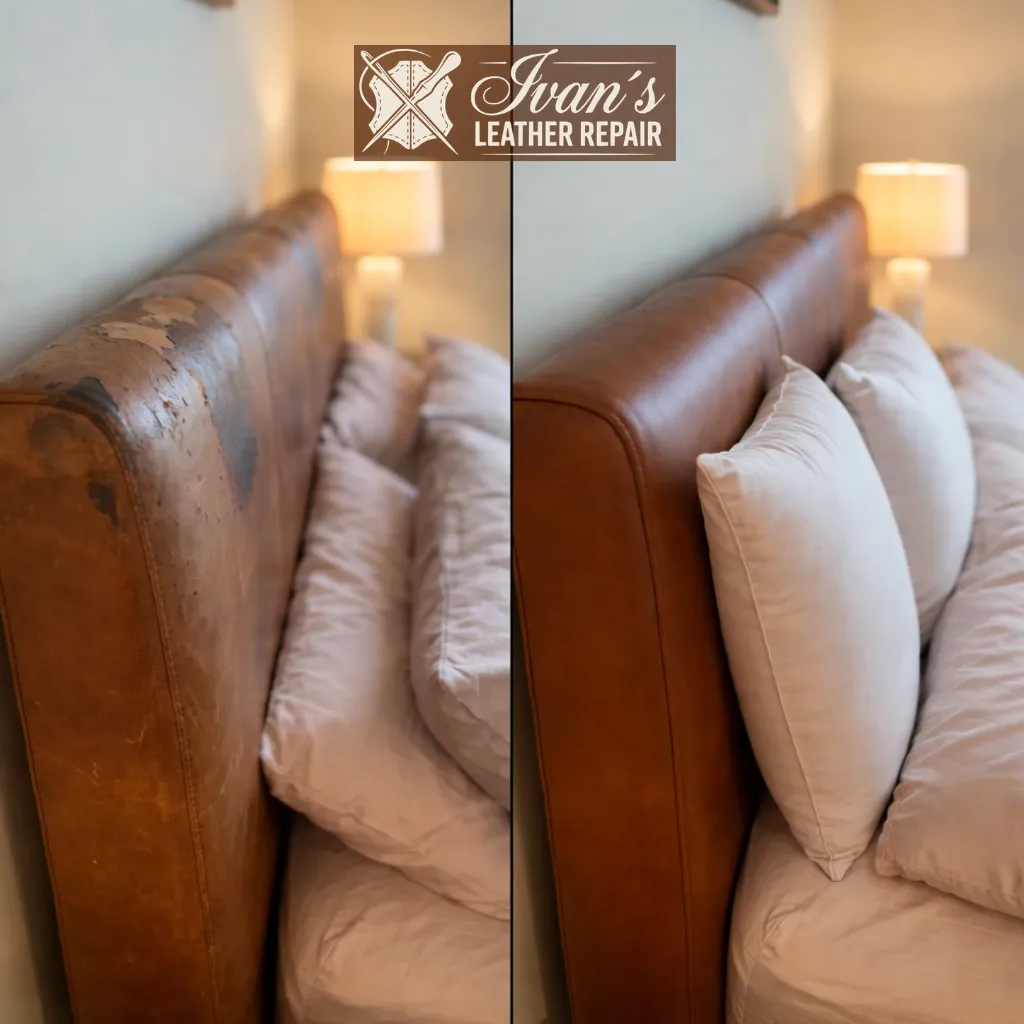
Peeling Finishes
Peeling usually means the surface wasn't prepped properly or the products didn't match the finish. Clean up loose material, re-clean the area, and use compatible products. If issues persist, a pro might need to refinish the area.
Stiff or Cracked Repairs
Stiffness means the wrong adhesives were used. Fixing it often means removing the repair, which is tricky. That's why picking flexible, leather-friendly adhesives and conditioning during repair is crucial. For severe cases, consult a pro to safely rebuild the repair.
Visible Color Mismatch
If repairs stand out, try blending colors and reconditioning the area. When discoloration continues, professional services offer pigment libraries and tools for better results. If consistency matters, a repair professional is often the best bet.
When to Call a Professional
When DIY Isn't Enough
Seek expert help for big tears, valuable items, or tricky color matches. If past DIY tries worsened things, pros can remove bad repairs and fix them right.
Benefits of Professional Help
Pros bring materials and expertise to match texture and sheen. They offer structural repairs that maintain safety and value. For commercial or auto repairs, professional work ensures durability.
Getting an Estimate
If you're in Brooklyn and need help, local providers offer mobile or workshop services. Early consultation can prevent costly mistakes. Our team offers services for residential and commercial pieces, so consider reaching out for a professional evaluation like residential leather repair.
FAQ: Quick Answers
Can I Fix Large Tears?
Big tears usually need backing, stitching, or replacement, best handled by pros. DIY fixes with glue often fail under stress. Professional repair ensures strength and looks.
How Often Should I Condition Leather?
Condition every three to six months to keep leather flexible and prevent brittleness. The frequency depends on climate and use. A good conditioner keeps oils intact and slows wear.
Is Color Matching Worth It?
For visible or valuable items, professional color matching is worth it. DIY can work for small areas, but pros deliver seamless finishes. Consider the item's value before deciding.
What Are Eco-Friendly Repair Choices?
Choose low-VOC adhesives, natural dyes, and biodegradable cleaners. Preventative care and targeted repairs cut waste. Many repair shops now offer green options.
Conclusion
Repairing leather at home can be rewarding if done right. Avoid harsh cleaners, use proper adhesives, prepare surfaces well, and take your time with color matching. For big or valuable pieces, professional repair offers the best outcomes. If you're around Brooklyn and need professional help, services like cracking leather repair can help.
Ready to protect your investment? Reach out for a consultation or estimate. Our team can evaluate damage, recommend eco-friendly materials, and restore your leather to its former glory. Contact us to discuss options and book a visit: revive your sofa or arrange auto work like auto leather repair.
For professional advice or to schedule an assessment, email info@repairleathernyc.com or call (347) 207-3031. When quality matters, timely, expert help preserves appearance and value.
External Resources: For more on material conservation, check out the Getty Conservation Institute, explore leather info on Wikipedia, and learn about safer chemicals from the EPA Safer Choice program.
Ready to keep your leather in top shape? Contact us for a no-obligation estimate and expert advice.